
📌 本文重點
- Mistral 讓模型一次寫出完整可執行工具計畫
- Plan 作為結構化 AST,提升可觀測性與可重放
- 適合多步 workflow、高可靠與多代理協作場景
Mistral 的程式碼化工具呼叫(code implemented tool calls)瞄準的痛點很直接:現有 Agent/工具呼叫機制太「鬆」——模型吐出一坨 JSON,外層 orchestrator 再硬湊成多步流程,結果是:
- 提示工程很重(得教模型怎麼排程、怎麼分步)
- 工具呼叫不可觀測、不易重放(難做 debug/retry)
- 多代理協作下狀態跟交易邊界很容易打結
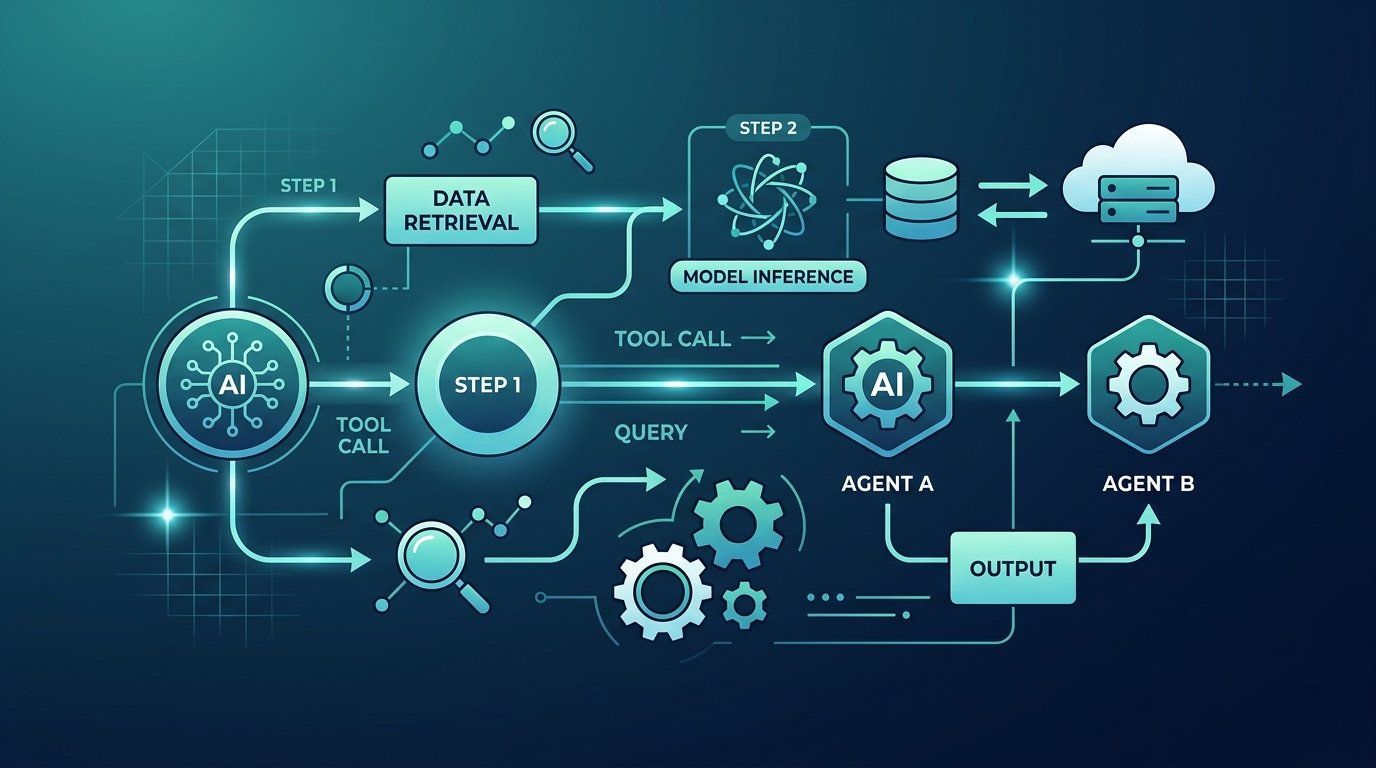
Mistral 想做的是:讓模型在生成過程中「寫出一個可執行的工具呼叫計畫」,再由執行器直接跑這段計畫,介於「純自然語言」與「完整程式語言」之間,變成一種半結構化、可解釋的 agent 程式碼。
重點說明
1. 什麼是「程式碼化工具呼叫」?
用工程語言講,就是讓模型輸出類似這樣的東西:
plan = [
  call(tool="search_user", args={"email": "foo@bar.com"}),
  if_("result.found", then=[
    call(tool="update_user_status", args={"id": "result.id", "status": "active"})
  ], else=[
    call(tool="create_user", args={"email": "foo@bar.com"})
  ])
]
重點不在語法,而在語意:
- 這不是單一 function_call,而是一段可執行的呼叫腳本
- 包含控制流程(if/loop)、工具序列、甚至回滾/補償邏輯
- 可以被引擎解析、記錄、觀測、部分重試
💡 關鍵: 透過「一次生成完整腳本」,LLM 從逐步決策器變成計畫產生器,大幅降低 orchestrator 與提示工程負擔
跟 OpenAI function calling 或 MCP 比較:
function calling:一次「我要叫哪個工具 + 參數」,多步需要多輪迭代- MCP:標準化「工具服務」與「資源」,但仍偏一次一個呼叫
- 程式碼化工具呼叫:一次生成完整 workflow blueprint,執行器負責跑與監控
2. 與現有框架(OpenAI / MCP / LangChain)的差異
心智模型差異:
- LangChain / 大部分 Agent:
- LLM 每回合決定「下一步做什麼」,像 ReAct / Planning+Execution
- 多步推理由 orchestrator 負責追蹤與 loop
- Mistral 這種設計:
- 一次吐出一個計畫(plan as code),再由 runtime 執行
- LLM 變成「計畫生成器」,而不是「每一步都要決策的狀態機」
具體好處:
- 更少提示工程:
- 不用在 system prompt 裡教一大堆「遇到 X 就呼叫 Y、記得先查再算」
-
而是用工具 DSL + 執行規則約束模型:你只能用這些原語寫流程
-
可觀測性:
- 計畫本身就是一種可序列化的 execution graph
-
可以記錄在 DB,提供 UI 看「每次 Agent 做了哪些步驟、用了哪些工具」
-
重試與補償更簡單:
- Plan 是結構化的,你可以:
- 只重跑失敗的 node
- 將已成功步驟標記為 committed,失敗則跑補償工具
💡 關鍵: Plan 作為結構化 execution graph,天然支援觀測、重試與補償,比傳統一輪一呼叫模式更適合長鏈路任務
3. 多步推理、長任務與多代理的實際價值
多步推理 / 長任務:
- 對需要多輪工具呼叫(查資料 → 計算 → 寫回 DB → 發通知)的任務,
一次生成計畫比每步都叫 LLM 決策更穩定也更便宜 - 可以做:
- 長任務分段執行:每段是獨立的計畫
- 中途中斷再恢復:計畫 + 執行游標即可恢復
多代理協作:
- 一個 agent 產生計畫,別的 agent 只負責執行子計畫
- 或一個高階「戰略 agent」產生 plan,交給「執行 agent」執行
- Plan 本身扮演協作協議:各 agent 只對自己負責的子樹負責
實作範例
以下用 Python 與 TypeScript 模擬一個「程式碼化工具呼叫」風格的框架。重點在介面設計與工程落地,不依賴特定廠商 API。
1. Python:計畫表示 & 執行器介面
from typing import Any, Dict, List, Literal, Callable

class ToolCall:
    def __init__(self, name: str, args: Dict[str, Any], retry: int = 0):
        self.type: Literal["tool_call"] = "tool_call"
        self.name = name
        self.args = args
        self.retry = retry

class IfNode:
    def __init__(self, condition: str, then: List[Any], otherwise: List[Any] | None = None):
        self.type: Literal["if"] = "if"
        self.condition = condition  # e.g. "ctx['user']['exists'] == True"
        self.then = then
        self.otherwise = otherwise or []

PlanNode = ToolCall | IfNode

class Plan:
    def __init__(self, steps: List[PlanNode]):
        self.steps = steps


class ToolRegistry:
    def __init__(self):
        self._tools: Dict[str, Callable[[Dict[str, Any]], Any]] = {}

    def register(self, name: str):
        def decorator(fn):
            self._tools[name] = fn
            return fn
        return decorator

    def get(self, name: str) -> Callable[[Dict[str, Any]], Any]:
        return self._tools[name]


tools = ToolRegistry()

@tools.register("search_user")
def search_user(args: Dict[str, Any]):
    # 呼叫現有微服務 / DB
    ...

@tools.register("create_user")
def create_user(args: Dict[str, Any]):
    ...


class PlanExecutor:
    def __init__(self, tools: ToolRegistry):
        self.tools = tools

    def run(self, plan: Plan, ctx: Dict[str, Any]):
        for step in plan.steps:
            self._run_node(step, ctx)
        return ctx

    def _run_node(self, node: PlanNode, ctx: Dict[str, Any]):
        if isinstance(node, ToolCall):
            self._run_tool(node, ctx)
        elif isinstance(node, IfNode):
            branch = node.then if eval(node.condition, {}, {"ctx": ctx}) else node.otherwise
            for sub in branch:
                self._run_node(sub, ctx)

    def _run_tool(self, node: ToolCall, ctx: Dict[str, Any]):
        fn = self.tools.get(node.name)
        attempt = 0
        while True:
            try:
                result = fn(node.args)
                ctx[node.name] = result
                return
            except Exception as e:
                attempt += 1
                if attempt > node.retry:
                    # 這裡可以記錄觀測資料,觸發補償
                    raise e
要點:
- Plan 是一個結構化 AST,可以序列化/儲存
- PlanExecutor 是純程式碼,模型只產生
Plan描述,不負責執行 - 工具描述透過
ToolRegistry管理,未來可以輸出 JSON schema 給 LLM 看
2. 模型輸出格式(給 LLM 的 contract)
你可以用 system prompt 明確要求模型輸出這種 JSON:
{
  "steps": [
    {
      "type": "tool_call",
      "name": "search_user",
      "args": { "email": "{{user_email}}" },
      "retry": 1
    },
    {
      "type": "if",
      "condition": "ctx['search_user']['found'] == True",
      "then": [
        {
          "type": "tool_call",
          "name": "update_user_status",
          "args": {"id": "{{ctx.search_user.id}}", "status": "active"}
        }
      ],
      "otherwise": [
        {
          "type": "tool_call",
          "name": "create_user",
          "args": {"email": "{{user_email}}"}
        }
      ]
    }
  ]
}
重點:
- Plan schema 是固定的,模型只在這個 schema 內填充內容
- 執行器可以根據
retry實作內建重試策略 condition可以限制為簡單表達式(避免讓模型寫任意 Python)
3. TypeScript:與微服務整合 & 錯誤恢復
type ToolCall = {
  type: 'tool_call';
  name: string;
  args: Record<string, any>;
  retry?: number;
};

type IfNode = {
  type: 'if';
  condition: string; // 例如 "ctx.order.status === 'PAID'"
  then: PlanNode[];
  otherwise?: PlanNode[];
};

export type PlanNode = ToolCall | IfNode;

export interface Tool {
  name: string;
  // 可以包 HTTP call / gRPC / queue message
  invoke: (args: any, ctx: any) => Promise<any>;
}

export class PlanRunner {
  constructor(private tools: Map<string, Tool>) {}

  async run(plan: PlanNode[], ctx: any, options?: { txnId?: string }) {
    for (const step of plan) {
      await this.runNode(step, ctx, options);
    }
    return ctx;
  }

  private async runNode(node: PlanNode, ctx: any, options?: { txnId?: string }) {
    if (node.type === 'tool_call') {
      await this.runTool(node, ctx, options);
    } else if (node.type === 'if') {
      const cond = this.evalCondition(node.condition, ctx);
      const branch = cond ? node.then : node.otherwise ?? [];
      for (const s of branch) await this.runNode(s, ctx, options);
    }
  }

  private async runTool(node: ToolCall, ctx: any, options?: { txnId?: string }) {
    const tool = this.tools.get(node.name);
    if (!tool) throw new Error(`Tool not found: ${node.name}`);

    const maxRetry = node.retry ?? 0;
    let attempt = 0;
    while (true) {
      try {
        const result = await tool.invoke(node.args, ctx);
        ctx[node.name] = result;
        // 可在這裡寫入 observability / event log
        return;
      } catch (err) {
        attempt++;
        if (attempt > maxRetry) {
          // 此處可以觸發補償工具,例如 compensate_${node.name}
          throw err;
        }
      }
    }
  }

  private evalCondition(expr: string, ctx: any): boolean {
    // 建議使用安全 expression evaluator,而不是直接 eval
    return Function('ctx', `return (${expr});`)(ctx);
  }
}
與現有微服務整合建議:
- 每個工具是對應一個微服務或某個 bounded context 的 use case
- 工具輸出應明確標示是否已提交 side effect(方便補償)
PlanRunner可以在每個 tool call 前後寫入 event log,方便追蹤
建議與注意事項
1. 模型自由度過高 → 亂呼工具
風險:
- 模型可能:
- 亂寫
condition表達式 - 緊密 loop 呼叫昂貴工具
- 混用不應該同時出現的工具(跨 bounded context)
建議:
- 提供有限 DSL:例如只允許
if、不允許任意while - 在 runtime 做 plan validation:
- 最大深度、最大工具呼叫數
- 禁用某些工具組合
- 聯合 靜態規則 + LLM 自檢:生成後再請同一模型對 plan 做 sanity check
2. 狀態與交易邊界混亂
痛點:
- Plan 容易跨越多個系統邊界:DB、支付、通知系統
- 一旦中途失敗,很難知道哪一步已真正「提交」
建議:
- 把 工具當作 transactional boundary:
- Tool 內部自行處理 local transaction
- Tool 對外暴露「已提交 / 可補償」資訊
- 在
Planschema 中加入: idempotency_keycompensate_tool(可選)
範例:
{
  "type": "tool_call",
  "name": "charge_payment",
  "args": { "order_id": "123" },
  "idempotency_key": "order-123-charge",
  "compensate_tool": "refund_payment"
}
3. 專利風險與開源 / 自建 Agent 平台
Mistral 申請專利的關鍵關注點在於:
- 「在生成過程中嵌入可執行工具呼叫計畫」這種整體 workflow
- 若你建立的框架:
- 讓 LLM 生成一段帶控制流程的工具呼叫「程式」
- 再由執行器直接執行
可能與專利有重疊風險。
對開源 / 自建平台的實務建議:
- 盡量採用分步決策(step-wise)方式(每步
function calling),避免明確 branding 成「plan as code」 - 若要實作類似能力,注意:
- 檢查專利條款與地域適用範圍
- 避免與專利文本中的特定 claim 結構一模一樣
- 企業內部自用系統較少被追訴,但商用 SaaS/開源框架就要謹慎,特別是標榜「code implemented tool calls」之類的功能時。
💡 關鍵: 若將「LLM 產生可執行計畫 + 執行器直接跑」打包成商用產品,需特別留意與既有專利 claim 的重疊風險
總結:何時值得導入程式碼化工具呼叫?
適用場景:
- 任務天然就是多步 workflow(CRM、自動化運維、財務流程)
- 需要強觀測性、可重放、可審計的 Agent
- 多代理/多服務協同,想要一個「共通語言」描述任務
不適用場景:
- 單步問答或簡單工具呼叫(RAG 查一次資料就結束)
- 對專利/法務非常敏感且需求不強時
對有 AI 開發經驗的你,可以先:
- 在現有 Agent 系統上加一層簡單的 Plan schema(如本文示範)
- 讓模型輸出 plan,再由你自己的執行器跑
- 逐步增加:retry、compensation、observability
這就是「程式碼化工具呼叫」在工程上的落地版本:不是只靠提示工程,而是用一個可執行、可觀測、可管控的計畫語言,把 LLM 變成真正的 workflow generator。
🚀 你現在可以做的事
- 在現有 Agent 專案中,加上一個最小可行的
Planschema,讓 LLM 先輸出計畫再執行- 把現有工具封裝進
ToolRegistry或類似結構,開始收集執行 log 以觀測計畫執行情況- 實作簡單的
plan validation規則(最大深度/最大步數),並用一兩個實際業務 workflow 試跑驗證